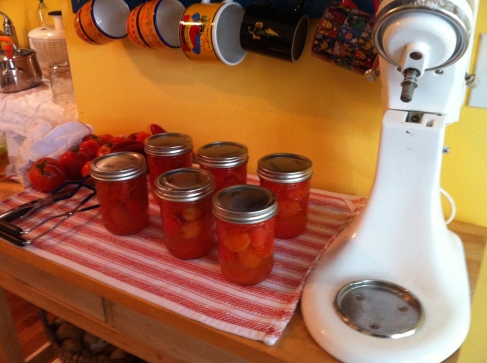
I have heard the stories for years about my great grandmother, grandmother, and mother’s great canning days. Bushels of produce simmered, steamed, and sauced into clean glass jars. I have done hundreds of thought experiments based on theoretical amounts of produce from my garden. I have read my peers blogs on fanciful concoctions packed in cans and artfully arranged in beautifully colorful photos. I’ve even ventured as far as refrigerator pickled cucumbers, okra, green beans, and radishes. However this was officially the first time I had ventured into “true” canning.
I feel as though I have just stepped over a threshold of some kind. A mile mark on my exploratory journey and fumbling attempts toward urban homesteading. An accomplishment! I now stand proudly next to my foremothers wooden spoon in hand!
When I heard for the first time this year that the metal cans used to can tomatoes contain a layer of plastic on the interior that contains BPA. The BPA enters the food when it is stripped away by the highly acidic tomatoes. The list of health issues linked to BPA is a mile long. Just do a google search if you ever want some motivation to can your own produce.
Canned tomatoes are a staple in my kitchen. Especially during the winter months when I get inspired to cook elaborate old world pasta sauces. So I was finally motivated to take the plunge into “true” canning.
Okay enough dramatic build up…
Down to brass tacks…
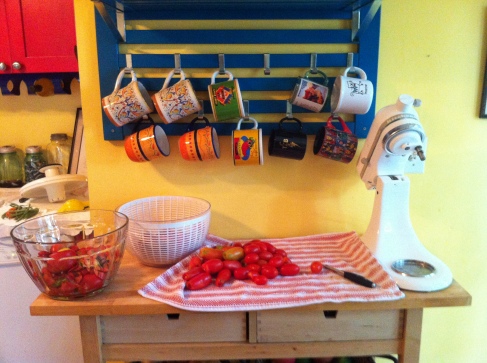
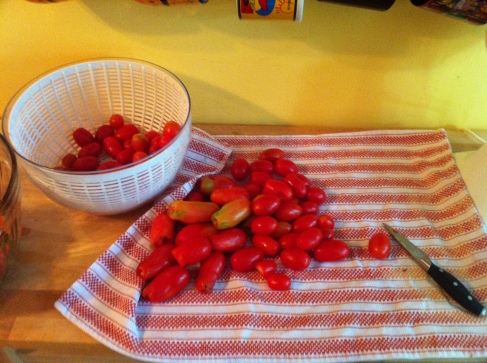
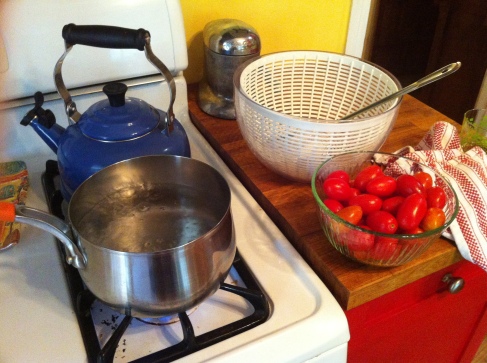
My set up :
Compost Bowl
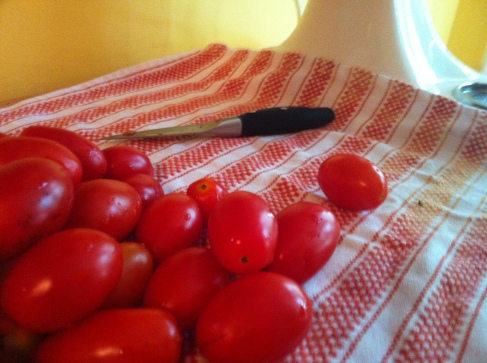
Paring Knife
Freshly Washed Roma Tomatoes From my Garden
I like pictures!
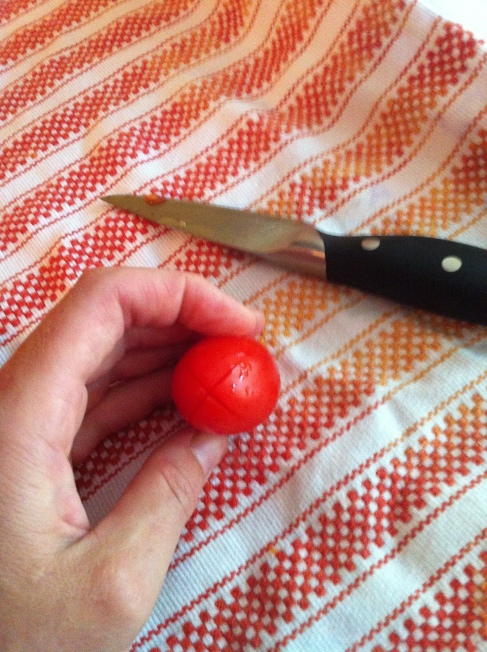
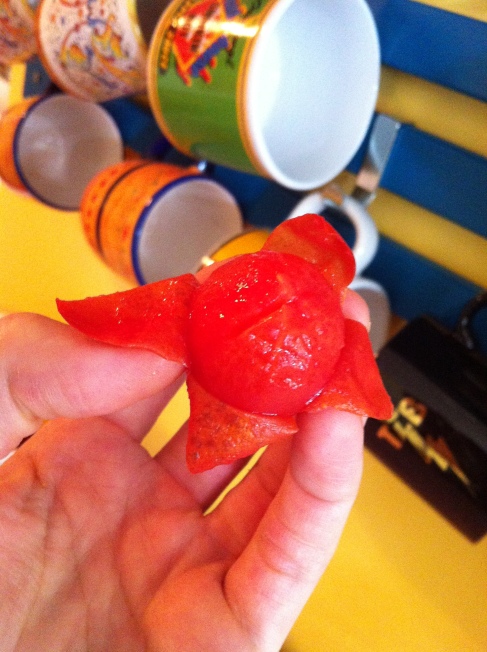
Now take the tomato and cut an X on the bottom. This makes for easy peeling after we blanch the tomatoes!
My Setup:
Tomatoes easy to reach
Slotted spoon for removal
Bowl to place blanched tomatoes in (you can fill this with cold water or not)
Pan with water at a rolling boil
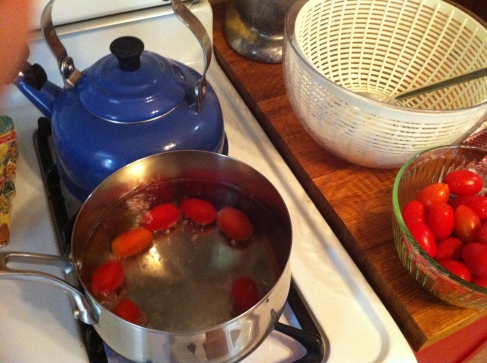
Blanching: Place a few tomatoes in the water at a time. If you put to many the temperature of the water will drop. Try to keep it at a rolling boil or just under a boil. Leave the tomatoes in for 30-60 seconds. Then remove with slotted spoon and place in bowl. After blanching let the tomatoes cool down enough to hold.
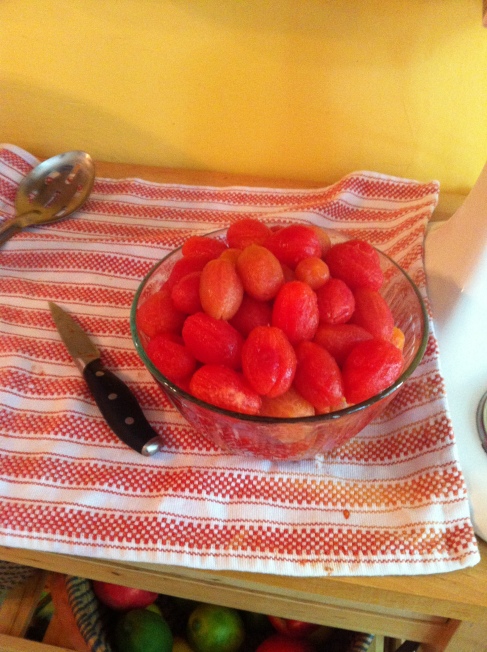
Now that you can handle the tomatoes. Use your fingers or the edge of a knife to peel away the skin. It should be fairly easy. Place skinned tomatoes in a bowl.
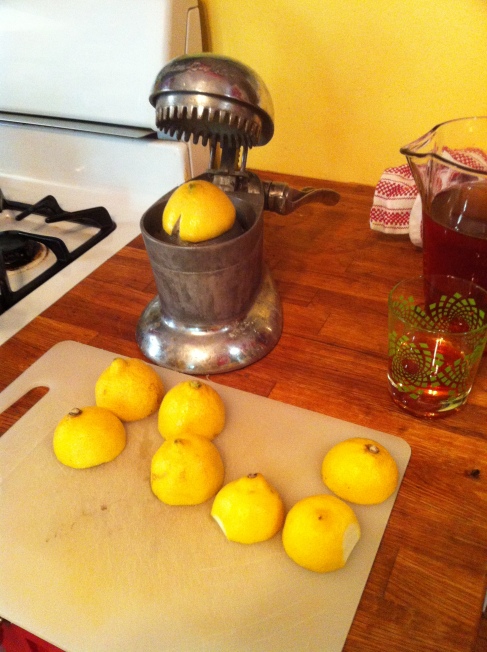
Squeeze some lemons. You will need 2TBLS of lemon juice per pint.
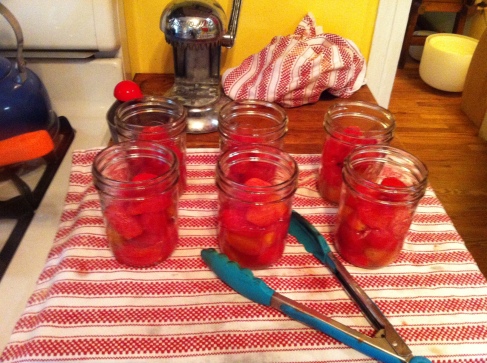
So now you are almost ready to start packing the jars, but first you must sterilize both the glass jars and the lids. I don’t have any pictures of this part. The easiest way to do this is to use your canning pot. Place the jars on the rack submerged in boiling water for ten minutes. In a smaller pot boil some water sterilize the lids and rings of the jars. Remove the jars one at a time from the boiling water and fill with tomatoes, lemon juice, and top off with boiling water.
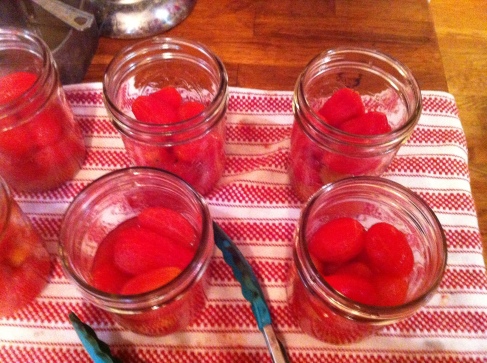
After you have filled the jars with the tomatoes, 2TBLS lemon juice. Pour boiling water from a kettle to cover the tomatoes leaving a 1/2 inch head room. Now place the lids on the jars. Do not tighten them to much. Just tighten the lid to the point where you feel resistance.
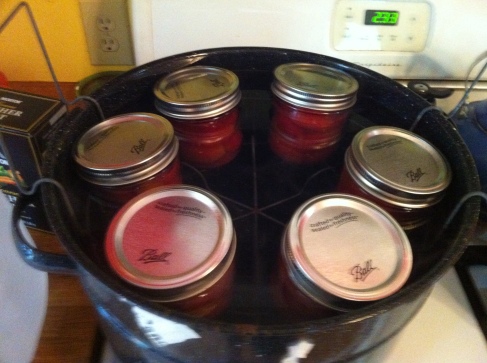
Place all the jars in the canning pot on the rack. Submerge the jars making sure that they are covered by an inch or two of water. Bring to a boil and start counting. 40 minutes for pints.
After forty minutes has passed remove the jars and place them on a kitchen towel to cool. You will need to let them sit for 12 to 24 hours. At that time you want to check all the lids to make sure that they are sucked down and sealed properly. You can do this by pressing on the lid. If the center of the lid has any movement in it. The jar is not sealed properly.
That’s it! Canned!

